Merry Christmas Fabric Banner

I was so happy for the day after Thanksgiving this year, not only because I was off work but also because we started getting ready for Grace’s FIRST Christmas! I must admit, it was a bit different than what I am use to…since it was 80 degrees and we got our tree from a Home Depot parking lot where they trimmed the tree, put on the tree stand and tied it to your car for you. However, we stepped up our decorations to make up for it 🙂

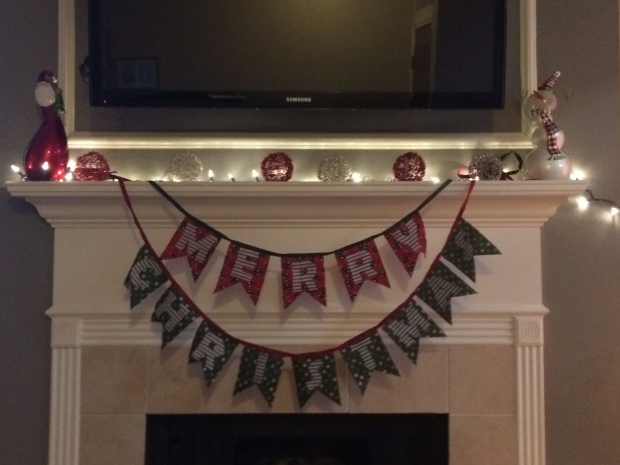
This year I added a “Merry Christmas” banner. I told you I love these things now!

photo-3

I followed this tutorial for the most part. The two differences…I used a different shape and I added letters to the banner.

I used this template for the flags on the banner. Then to add the letters I created a word document, using word art…I picked a font I liked and a size that would fit on my flag and printed each letter. I cut out the letters and traced them backwards on the back side of my fabric (make sure the letter is backwards so the letter is not backwards when you flip the fabric to right side). After I cut out all the letters I used Fabric Glue to attache the letters to the flags.
DIY Fabric Banners

Photo Taken By Julie Doniero Photography https://juliedonierophotography.squarespace.com

Photo Taken By Julie Doniero Photography https://juliedonierophotography.squarespace.com

IMG_1830

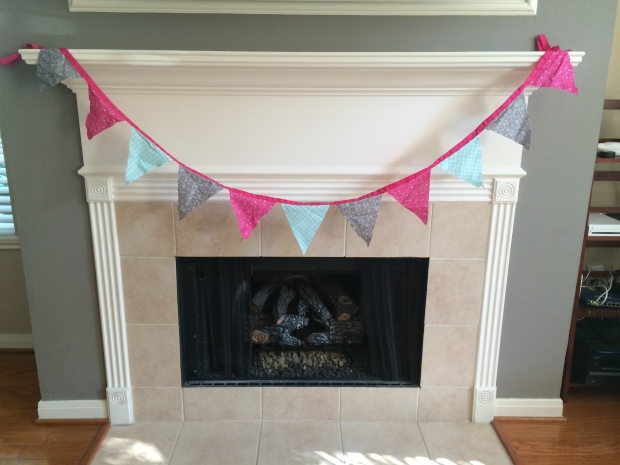
My new obsession…fabric banners!! They are a perfect for party decorations. I made this one to hold in the background of Grace’s pictures. It was so easy to make and I used the scrap fabric left over from her Rag Quilt.

What you need:

Ribbon
Sewing Machine– I love this one
Thread that matches ribbon
Fabric – I used about 1/3 yard of three different fabrics
This Template


Steps:

1. First decide what size you would like to make your pendants from the above template – I made mine in between the 6″ and 7.75″ mark on this template because I was using scrap fabric

2. Then decide how many pendants you need to cover your distance – I have a total of 11 pendants

3. Now take your ribbon and fold it in half and pin the ribbon in place creating a “ribbon tail” (see picture below) that will allow  secure your banner into place


PicMonkey Collage

4. Once you are done with your “ribbon tail”, start adding your pendants in. Put the edge of your pendant into the crease of your ribbon and pin into place. I laid down the next pendant so that the two corners were touching to make sure the pendants were evenly spaced.

5. The make an identical “ribbon tail” on the other side of the pendants.

6. Now you just need to sew at the base of the ribbon to hold the pendants in place.


You could always stencil or apply letters and/or decorations on to the pendant to take it up a notch 🙂

DIY Gel Staining

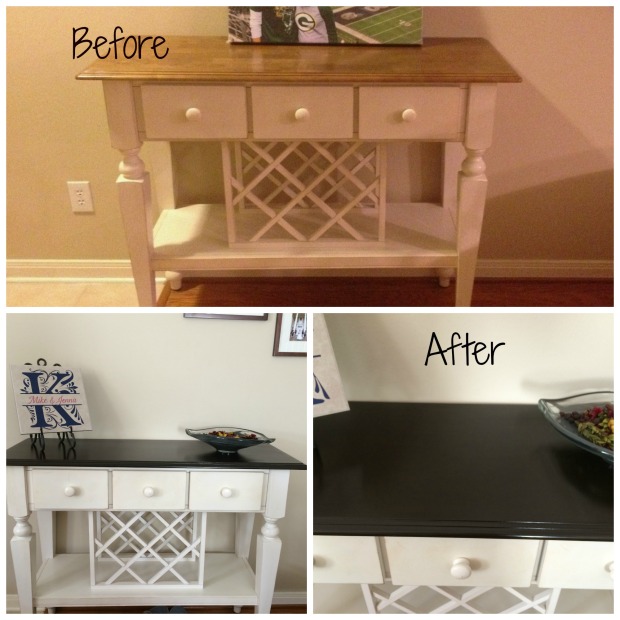
I recently found this lovely table for our entry way…one problem…the wood top did not match the rest of our furniture. It was a very light wood while all the rest is dark. I remembered hearing about a gel stain that was “fool proof” but I was always  too nervous about ruining my items to try the product. I finally got over my fear and went for it.


What you will need:

1. Java Gel Stain

2. Poly Semi-Gloss Top Coat

3. Sanding Wedge

4. Foam Brushes or an old sock


Steps:

1. First sand the surface that you will be staining – just needs to be a rough sand

2. Apply the gel stain with either a foam brush or a sock – apply a LIGHT coat and let dry COMPLETELY! (I let it dry overnight) **Warning first coat does not look that great but trust me it will look better!

3. Repeat step 2 with 2 more coats letting it completely dry in between

4. After you applied 3 coats of stain finish with the poly top coat – again let completely dry


Gel Stain

It was way easier than I thought and I am VERY happy with the results!